How To Tuesday – Halloween Crates
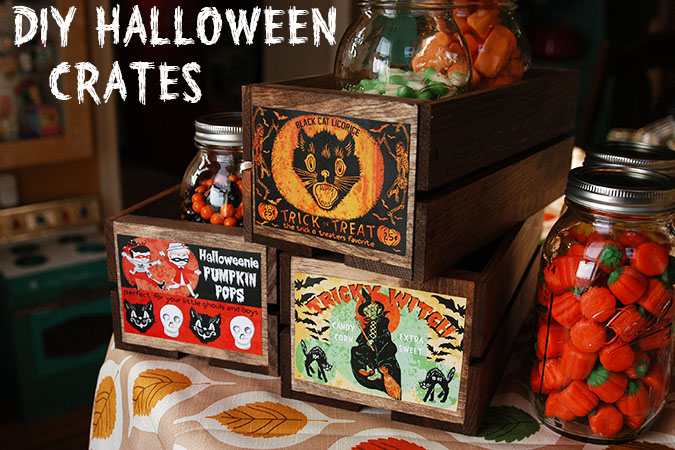
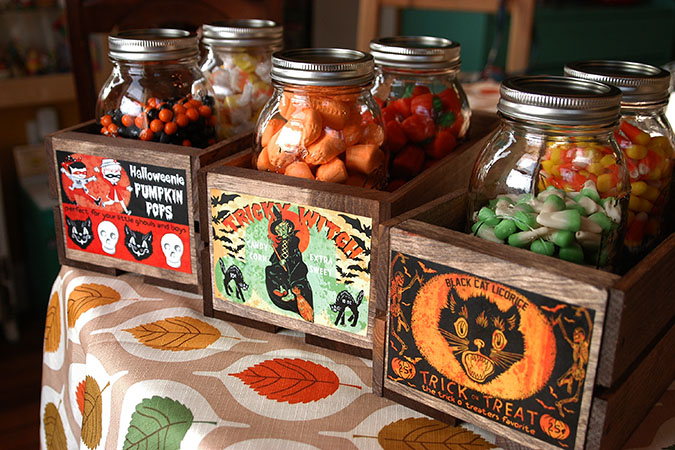
 I know that technically it is still Summer (first day of Fall is Sat the 22nd) but I wanted to get a jump start on my Halloween projects so the house will be decorated the entire month of October and I thought you might feel the same. Halloween is one of my favorite holidays, and I love decorating for holidays! My favorite kind of decorations are the ones you can make yourself, and the ones that are somewhat functional. These little mini crates are great for storage that is also festive. Keep them on a kitchen counter and hold your spices, put them on a a shelf and fill them with jars of Halloween candy, or put them in your bathroom to hold soap, and other bathroom essentials.
 Here’s what you’ll need:
-mini wooden crates, I found these at AC Moore for $2.99 each (bring a coupon and they are even cheaper!)
-wood stain, I went with walnut
-brush
-multi-purpose spray adhesive
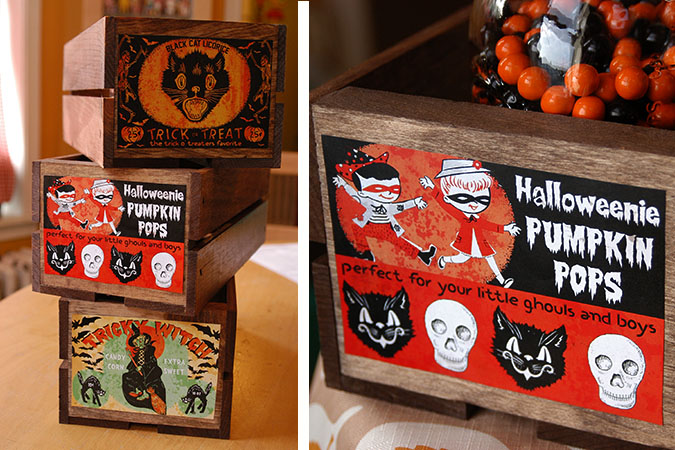
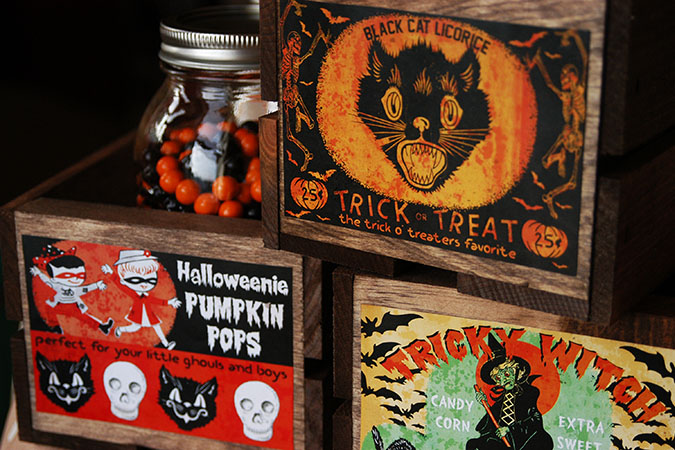
-labels page 1 here and page 2 here, I made 2 of each so you can put one label on each end
1. Stain all the crates and allow to dry (check your stain for dry times)
2. Have labels printed (I had my printed by Staples for a little over $1, and they print on a laser printer so you don’t have to worry about the inks smearing) cut them out.
3. Use the spray adhesive in a well ventilated area, spray the back of each label and press it onto the side of the crate. Voila…super easy, and actually pretty fast too!
Please remember these labels are for personal use only, not for re-sale.


