
Someone on Instagram said they’d like to see a post on the way I design fabric. Since I love seeing other the way people work and a look behind the scenes I thought maybe you would like to see how I do things too. When Spoonflower first began and I realized I could design my own fabrics I was really excited. I don’t have any formal education when it comes to art/design, or computer programs at all. Never one to let that stop me (at this point I had a basic knowledge of photoshop from using it for a few years). I started making fabric designs from cut paper which I then would scan and move around the best I could in Photoshop. Thankfully Spoonflower offered repeats on their website and it made the process easy if you had one single image you wanted repeated across the fabric. Over the last few years I’ve learned a lot more about all the amazing things you can do in Photoshop by trial and error. There are probably easier ways to do some things, and like I said no formal education here, so remember my way may not be the best way…but here ya go!


When I decide I want to make some new fabric it almost always starts with some drawings in my sketch book. I like to make a line of Halloween fabrics each year and I was feeling very inspired to start early, so I went ahead and dove in. Last year I was all about bats. This year I was thinking about witches and the art of reading tea leaves. The tea leaves sort of lead to tea cups and then since I couldn’t figure out a way to illustrate the act of reading tea leaves I settled on some ghosts coming out of each tea cup. I knew I wanted them to be forlorn, maybe they’ve glimpsed upon some bad things in the future…maybe they just hate having a job in the afterlife and would rather be off fly-fishing. I don’t worry very much about what my sketches look like as I don’t often share the sketches with anyone. I just get down my ideas without too much worry over how they look.
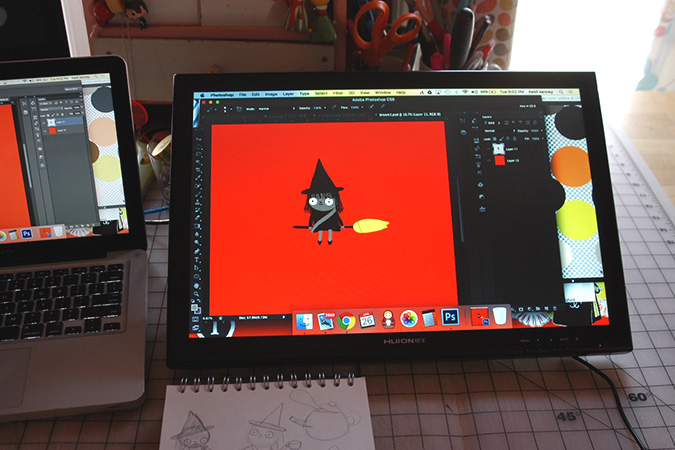
Then I just snap a photo with my phone of the page, and upload it privately to my Flickr account. I could connect my phone to my computer and move it over that way but I don’t always have a cord handy so Flickr works well. Then I download the photos and open them up in Photoshop. I have
Huion GT-190S 
which I bought almost exactly a year ago, and I love it so much! I did a lot of research before getting a tablet as they can be a really big investment. Price wise compared to the Wacom tablet which is around the same size it was about half the price. I wasn’t even sure how much I’d like using it so I went with the Huion and haven’t had any regrets, as its worked perfectly for me. No lag, and the pen stays charged for a very long time. In one year I have only had to charge it two times!
Anyhow when I open up my drawings in photoshop I resize them, and then begin drawing over my sketches. I make sure to draw each part of the drawing in a new layer. If I am drawing a dress where one sleeve needs to go behind an element but the dress go in front then that sleeve will get its own layer.

Keeping all the layers labelled makes it really easy when you want to go in and change one part of your drawing, wether it be the color, shape, size etc.
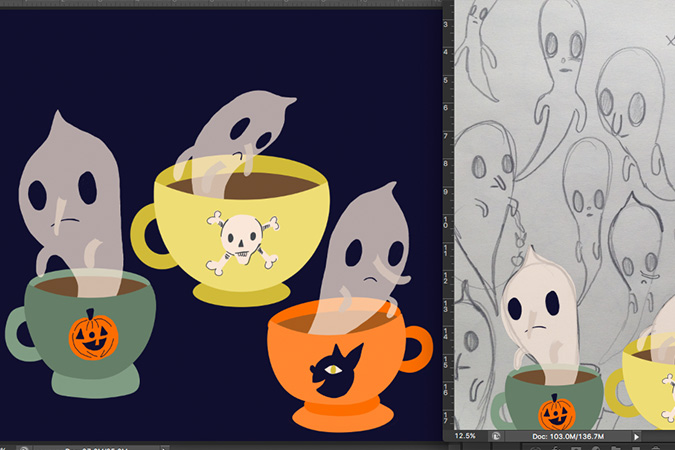
I draw each item and then save them (layers and all) in Google Drive. I started using Google Drive last year and its been so much more helpful then saving to my external hard drive as now I can access my files from any device without having to find my external hard drive-plug it in etc.
I like to save and label everything very thoughtfully as it makes it so much easier to go back and find illustrations you may need later. Some times I’ll end up with tons of random saves from me playing around with the fabric design, but then I’ll just go in and delete anything that isn’t needed later. I prefer to save too much, instead of looking back and regretting not saving something.
I should say that before I start drawing I usually decide on colors for my fabric. Sometimes I will start with a few and then add colors as needed. I like to save a file with the colors so I have them handy.
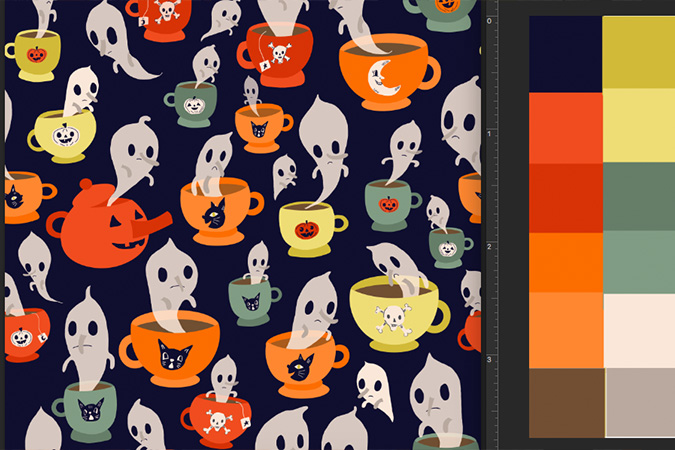
Once I have a bunch of my elements drawn and saved I like to start playing around with how I want the finished fabric to look. This is probably the longest part of the process for me because I do a lot of playing around with the layout and color.
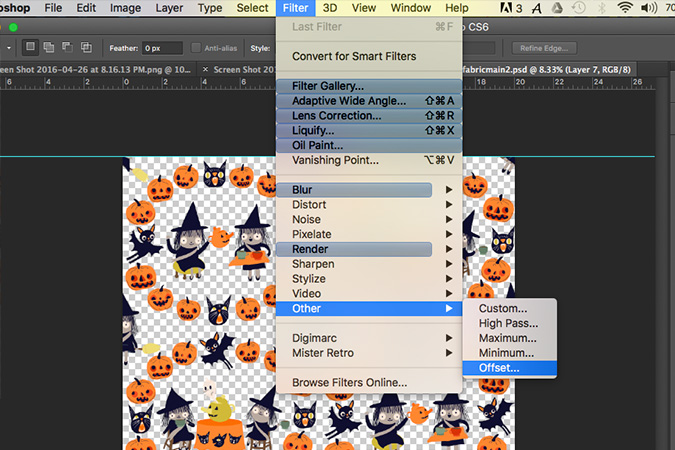
I open a new window and drag elements around deciding where I want them. I also make messy drawings on paper to work it out as well. A handy tool in Photoshop is the “filter-offset” tool. There are lots of
great tutorials like this one that explain how to use it. If you’ve never played around with it, try it out!
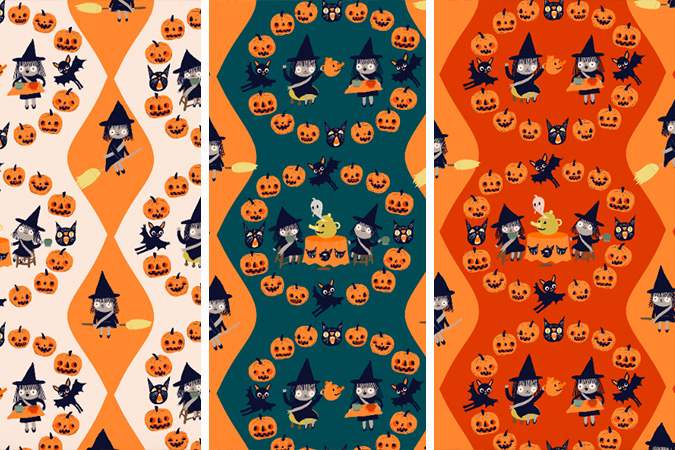

Once I have my design laid out in a repeat I like I will go in and play around with the background colors. I’ll have another post up on what I do once I’ve settled on my fabric designs. I hope you’ve enjoyed the peek into my process.


