DIY: Halloween Costume Hangers

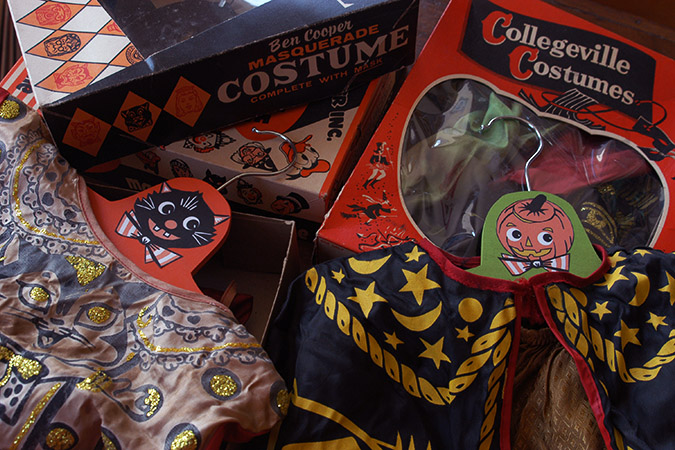
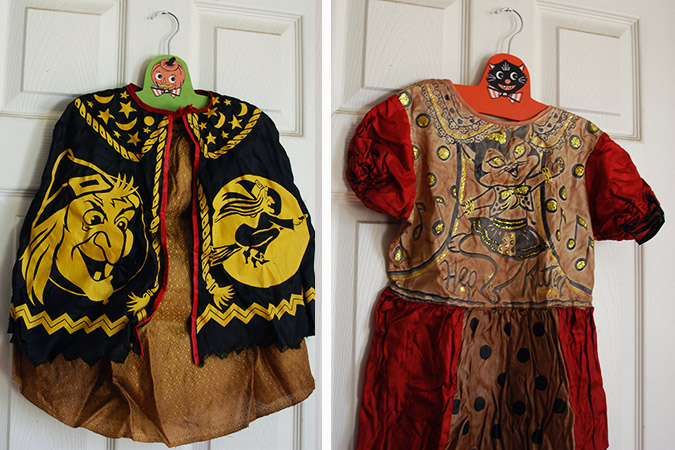
I love decorating for Halloween, and I have a few cute little vintage costumes I like to hang up for decorations (maybe you have some too?) Every year I would hang them up on plain hangers and kept meaning to make a fun Halloween hanger, and finally made sure to get it done in time for Halloween this year, in fact I actually made this over a month ago! I created the images inspired by my love for vintage Halloween cut outs. Even if you don’t have vintage Halloween costumes to hang, you could make hangers to hang up the costume you are going to wear this year.
With this project you have a lot of options, from making the actual hanger, or buying a wooden hanger and customizing it. If you don’t have some of the tools I mention, keep reading for ways you can customize an existing hanger.
Here’s what you’ll need…
-wooden panel (I went with a hardwood 1/4 inch thick)
-scroll saw (you could use a jigsaw as well)
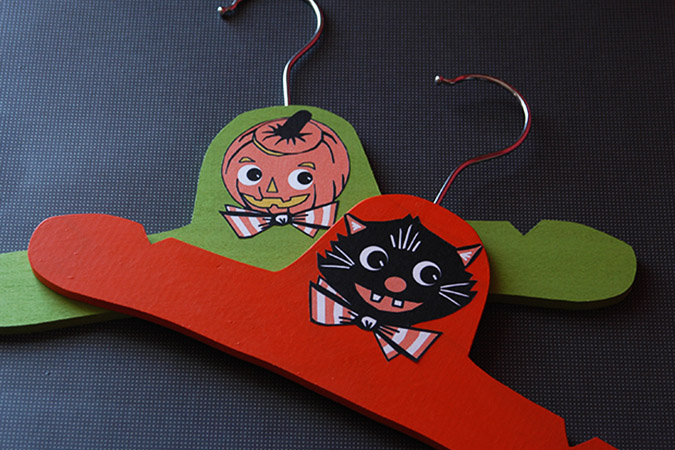
-sandpaper
-acrylic paint
-wire or top hook area of an existing wire hanger
-drill
-spray glue or Xyron sticker maker
1. First you’ll need to create your hanger. If you don’t have a scroll saw or any experience cutting out wood you can always find a wooden hanger to use instead. If you need to you can shrink the images to fit, or look for a hanger with a nice space near the top for adding the image. If you will be cutting your hanger from wood with a scroll saw, please follow all safety precautions that came with your saw. I used a 1/4inch thick maple plank that I picked up at Lowes. Print out the PDF and cut out the hanger template. I like to cut both my hangers at once by stacking both boards, taping the paper template to the top with packing tape (which you then just cut through) but you can trace the image onto your boards if you prefer.
2. Once hangers are cut out you can sand any rough areas and clean them up. Then paint whatever color you’d like them to be. Allow to dry fully.
3. Now its time to add the “hook” to the top of your hanger. I thought about creating one from wire, and you certainly could but I happened to be buying some clothing that came on one of those plastic hangers with a metal hook, these were pretty easy to get off and had a end piece that could screw in. I drilled a small hole in the top of each hanger base, and then simply screwed the wire hooks into the top of each. Since the costumes are super light I didn’t worry about adding glue. If your wire hook does not screw in, you can secure it in place with glue or epoxy.

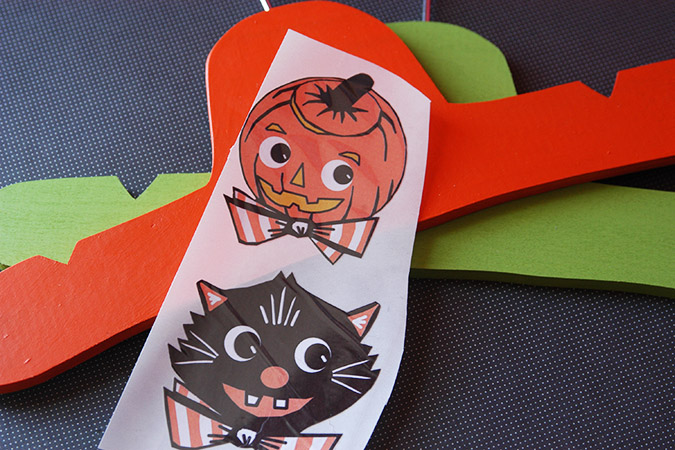
4. I had my images printed on standard paper at a copy center. I like Staples because you can upload the images online and then they print them with the laser printer, which I think looks really nice.
5. Cut your images out and either spray the backs with spray glue, or run through a sticker maker equipped with permanent adhesive. I love the xyron, and could never go back to the mess that comes with spray glue!
6. Stick your images to your hangers, and enjoy! If you want you can add a coat of sealant, but I didn’t since they will be used indoors.

