My scrap fabric bin has been overflowing for awhile now, so I decided to use up some of the longer scraps and make a little triangle scrap quilt. I cut longer pieces into strips (without worrying about width) and then just sewed them together. I cut an equilateral triangle from a thick piece of chipboard and used that to cut out my triangles with my rotary cutter.
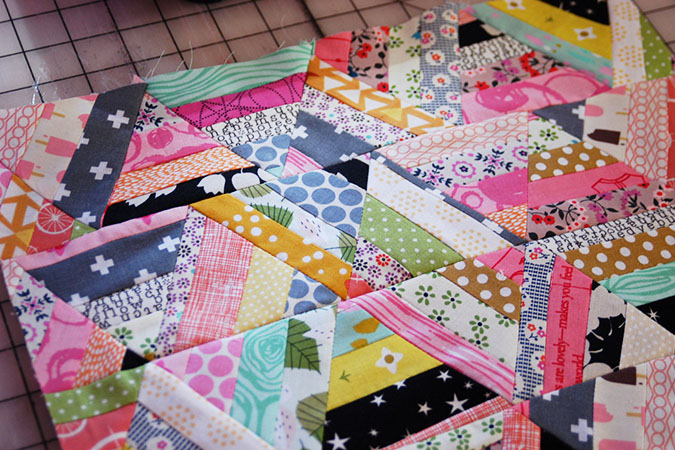
Sewing quilt blocks without foundation paper always feels a bit scary to me, but I used my 1/4 inch quilting presser foot and sewing the triangles together was a breeze! I ended up cutting the edge triangles off, but I’m still not completely sure where I am going with this little quilt.