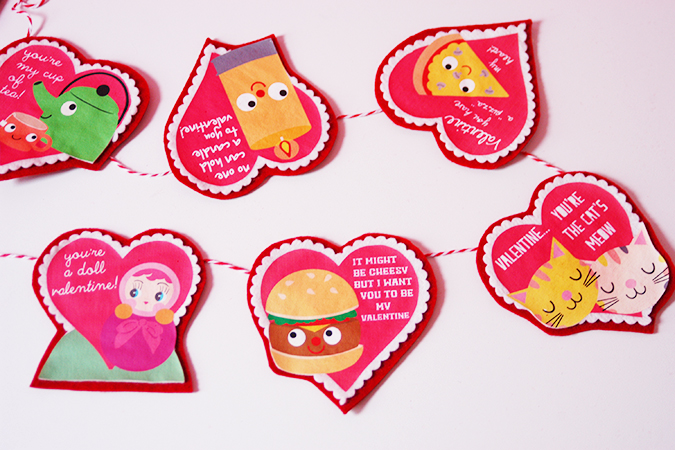
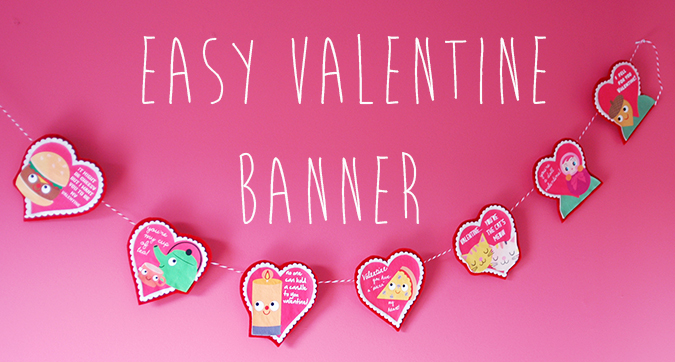
DIY Easy Valentine’s Banner

–InkJet Iron-On Transfers
-red and white felt
–String
–glue
-scissors
–Scallop Fabric Shears
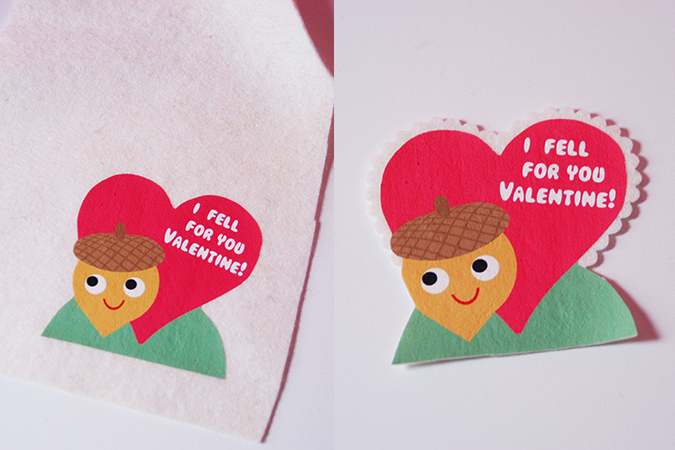
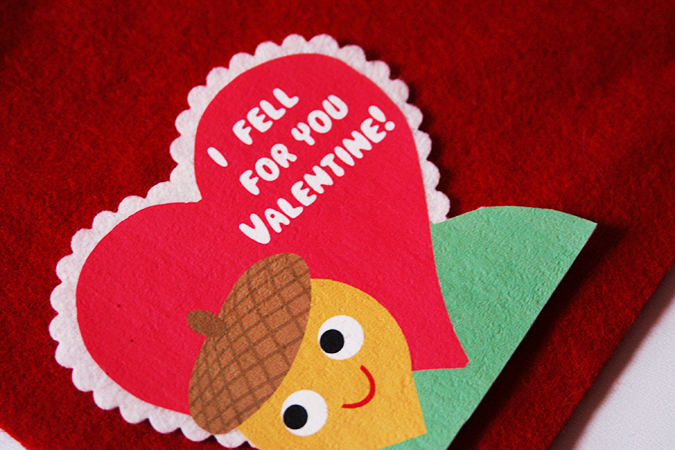
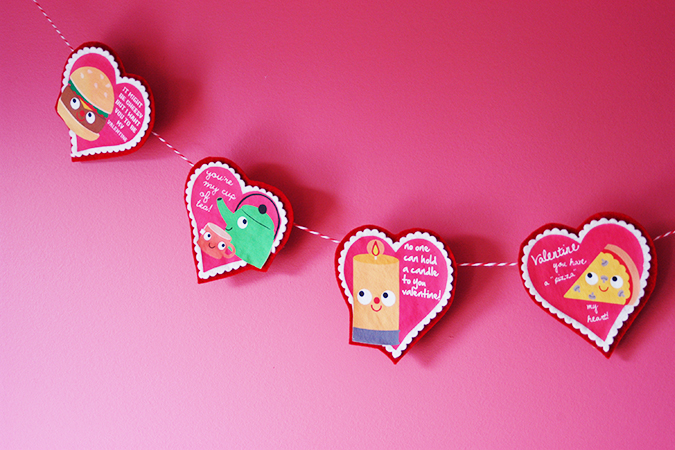
First print out your valentines onto the iron-on paper following the directions on the package. Cut out a valentine with the plain scissors. Iron onto white felt. I then use a combination of my plain scissors and scallop to create a scallop design just around the heart as I cut it out of the white felt.

I glued the string to the back upper area of each valentine using a rectangle of leftover red felt. You could also sandwich and glue the string in between your white and red layer of felt, but I wanted mine to be behind the entire thing. Allow to dry and hang up!
Please note that the Amazon links above are Amazon affiliate links and if you purchase something using the links I will receive a small Amazon credit.