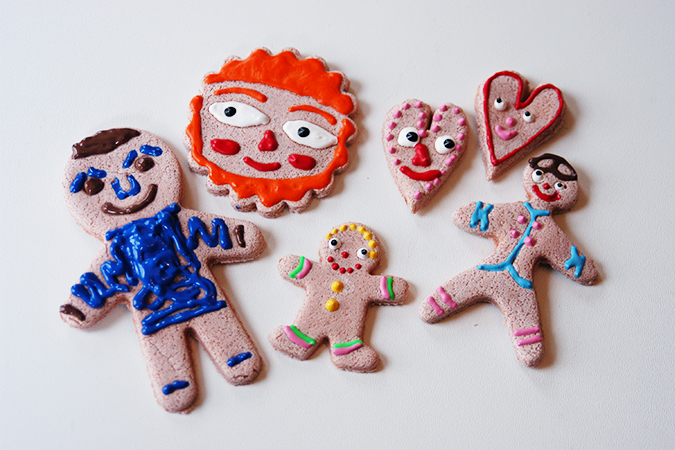
One night laying in bed I was thinking about decorating real cookies and had a moment where I wondered if puffy paint could be used to frost faux cookies. Of course a quick google search and it turns out I am not the first person to have this sort of “a-ha moment” when it comes to puffy paint, but I was still excited to give them a go! Your finished cookies could be turned into magnets, necklaces, ornaments, pins, or stacked onto a pretty serving tray and left out as decorations that the dog won’t try and sneak off the table. Even tiny cookies could be turned into earrings, or faux food for dolls.
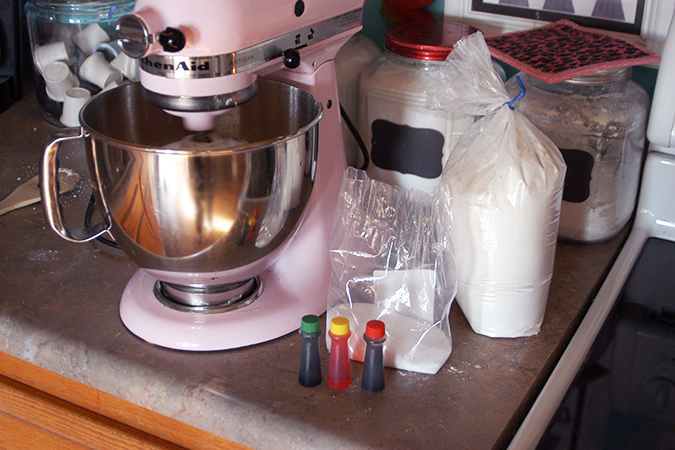
Here is what you need to make about 2 cookie sheets of faux cookies:
-2 cups of all purpose flour
-2 cups of table salt
-about 1-2 cups of water
-food coloring
-puffy paint
1. First mix your flour and salt. I used my stand up mixer for this, but you can mix by hand too.
2. Slowly add your water. Start with one cup, then continue adding 1/4 cup increments until your batter is the consistency of play-doh. If your batter ends up too watery or dry add a bit more water or flour until it balances out.
3. Now you can leave your dough as is for pale/white sugar cookies, or add food coloring to tint them dark brown for gingerbread, or a buttery yellow for shortbread. In our experience the cookies lightened during baking and ended up a paler color then what we started with.
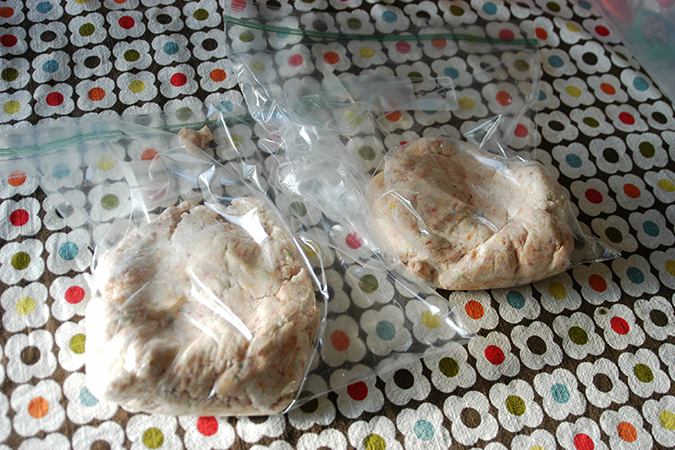
4. Next we divided the dough in half (since
Molly was over and going to make cookies too) in ziploc bags we could add a little more food coloring and knead the dough around. You can knead it by hand too but the large amount of salt in the dough does dry your hands out.

We used wax paper for rolling our dough, but you could use parchment, tinfoil, or a clean flat surface. My rolling pin worked perfectly and the dough did not need any flour, and did not have any problems sticking in any of the cookie cutters.
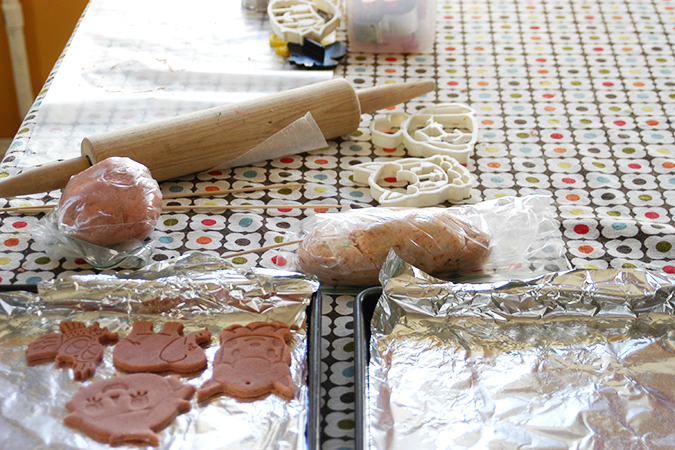
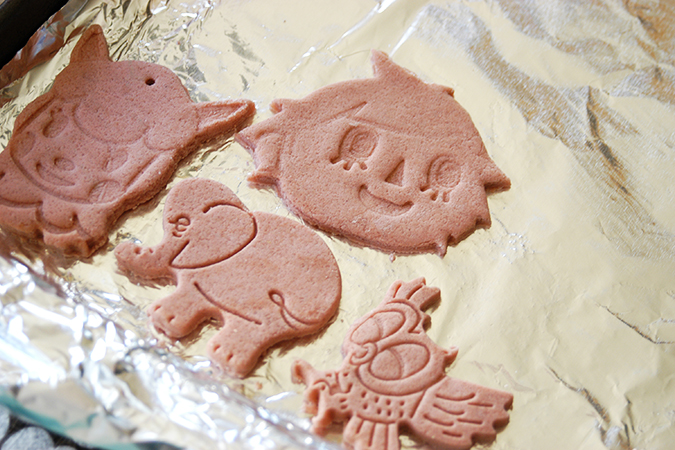
Besides cookie cutters you can cut out shapes with a knife to get a particular shape or design. I could not find my Moomin cookie cutters though I really wanted a Little My brooch, so I ended up cutting out her head shape with a knife instead.

Once your cookie sheets are full its time for the LONG bake. In a 250F pre-heated oven these babies need to bake for 3 hours. If you want to make this a craft for a party, I suggest baking all the cookies ahead a time, and having people decorate them at the party instead. Once fully baked let your cookies cool fully. Ours cooled really fast once removed from the cookie sheets. I also suggest having a batch of real sugar cookies on hand for snacking, like we did, because nothing will make you crave cookies more then making a batch of ones you cannot eat.
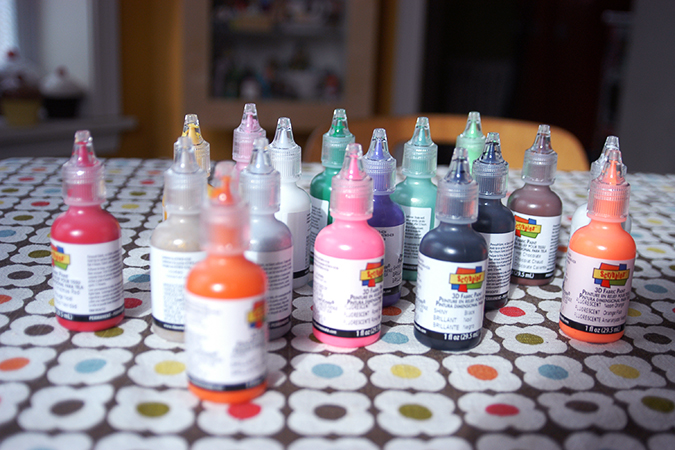
When it came time to decorate them I ended up liking the look and enjoying decorating the ones that did not have guide lines from cookie cutters pressed into them the most. So if I did it again I would skip any of those type of cookie cutters and stick with plain flat ones, but its all a matter of preference.
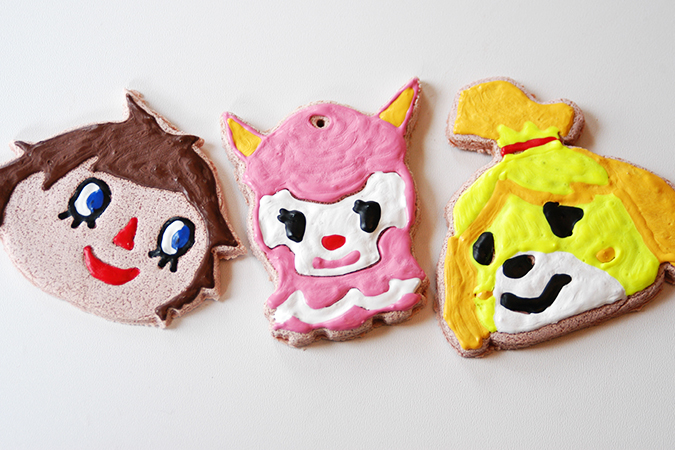
You use the puffy paint the same way you would with icing bags. For laying a color over another color its best to let each color dry for awhile so you don’t bump one with the tip and smear color. We found it easiest to practice on a piece of scrap paper to get the flow of the lines before starting our cookies. I found my puffy paint at Michael’s in a set of 20 bottles for $20 (they sell them individually for $1.29) but then I used a 40% off coupon which brought it down to $12 or about .60 each. Once fully decorated allow your cookies to dry flat overnight before turning into jewelry or some other fun thing. We had so much fun making these that I would definitely do it again. If you end up making some faux cookies yourself, I would love to see them!


